THE TUCKPOINTING PROCESS.
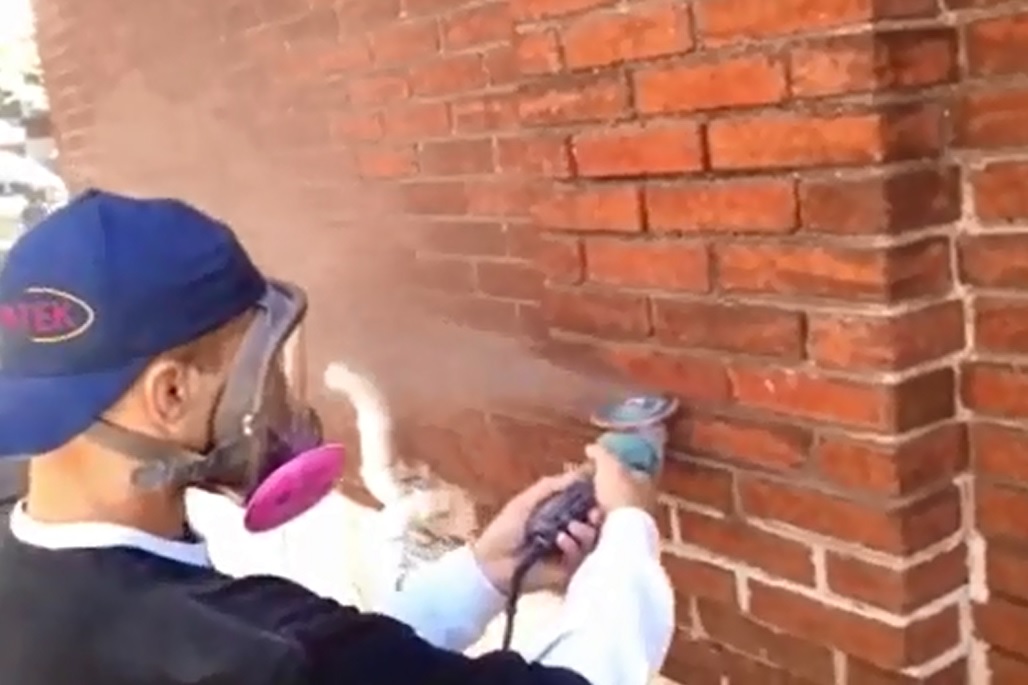
Grind
Remove at least ½ inch of the old joint to ensure a strong bond between the new and old mortar.
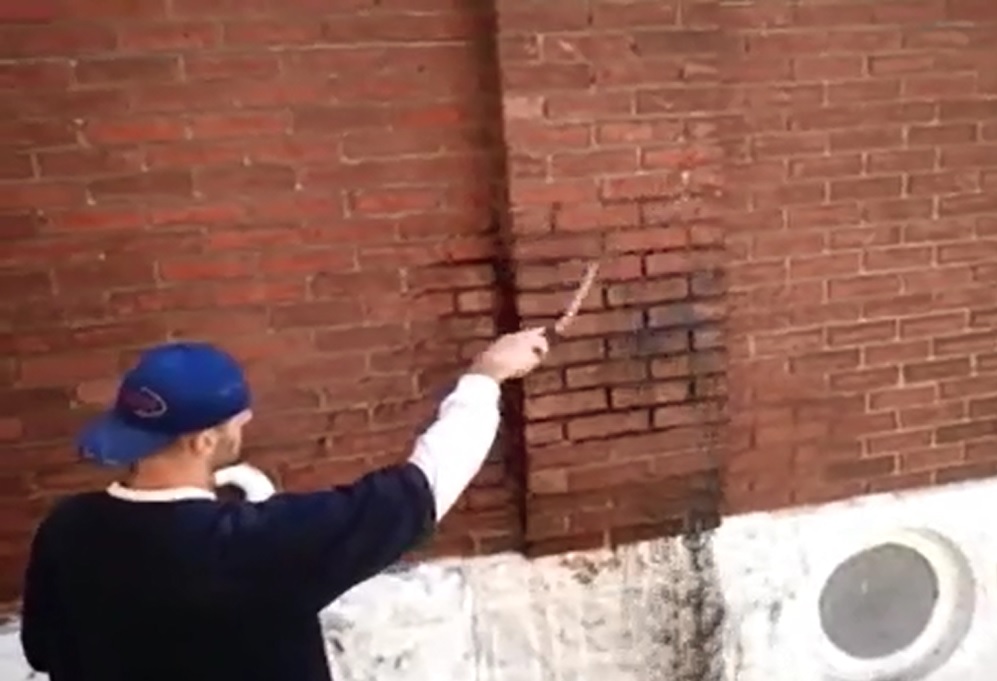
Clean the Joints
After grinding, cleaning dust out of the joints will also ensure a strong bond. This is done by hosing dirt/debris out of the joint, brushing it out, with a masonry brush, or blowing the joints clean with an electric blower.
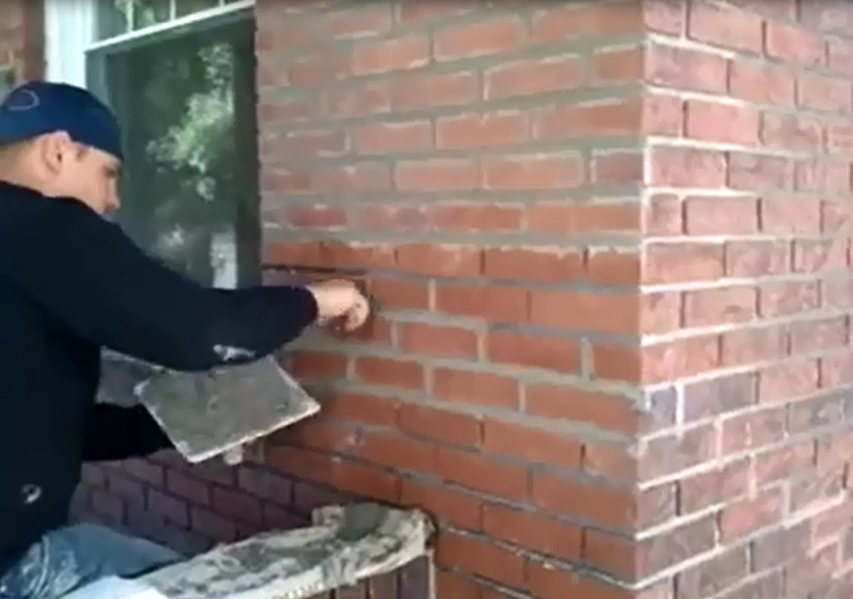
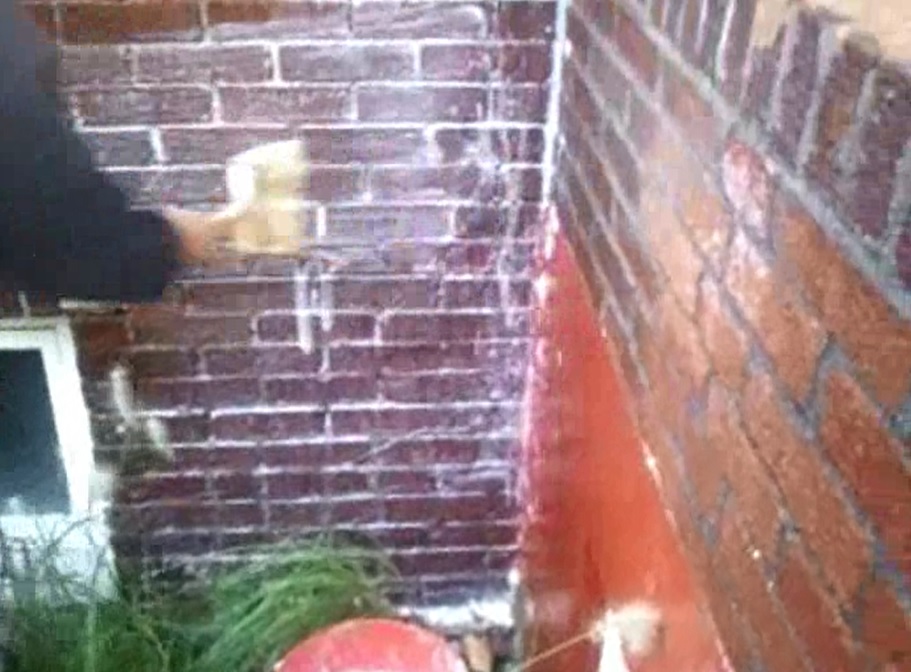
Tuckpointing
New joints are tuckpointed into the wall using tools specialized for the trade. Mortar is struck into joints with color added to the mix to match existing or an owner specified color. Color can be matched to nearly any existing mortar.
Replacing Brick
If needed, new brick are chosen specifically to match your existing brick for a uniform look.

Brushing
Brushing completed tuckpointing will give the joint a smooth finish and remove residual mortar from the tuckpointing process from the brick.
Cleaning
Masonry cleansers are used to remove excess dust and mortar from the brick for a clean and natural look.
Sealing
Applying a silicone based sealer after the work is completed and once every (3-5 years for flat work, patios, walks etc.) and every 5-10 years for any vertical walls) will ensure your tuckpointing lasts for decades.
Clean Site
Clean and Remove all debris from job site. Job site should look as good as or cleaner than it was before work was started.
by Jacob Thompson

